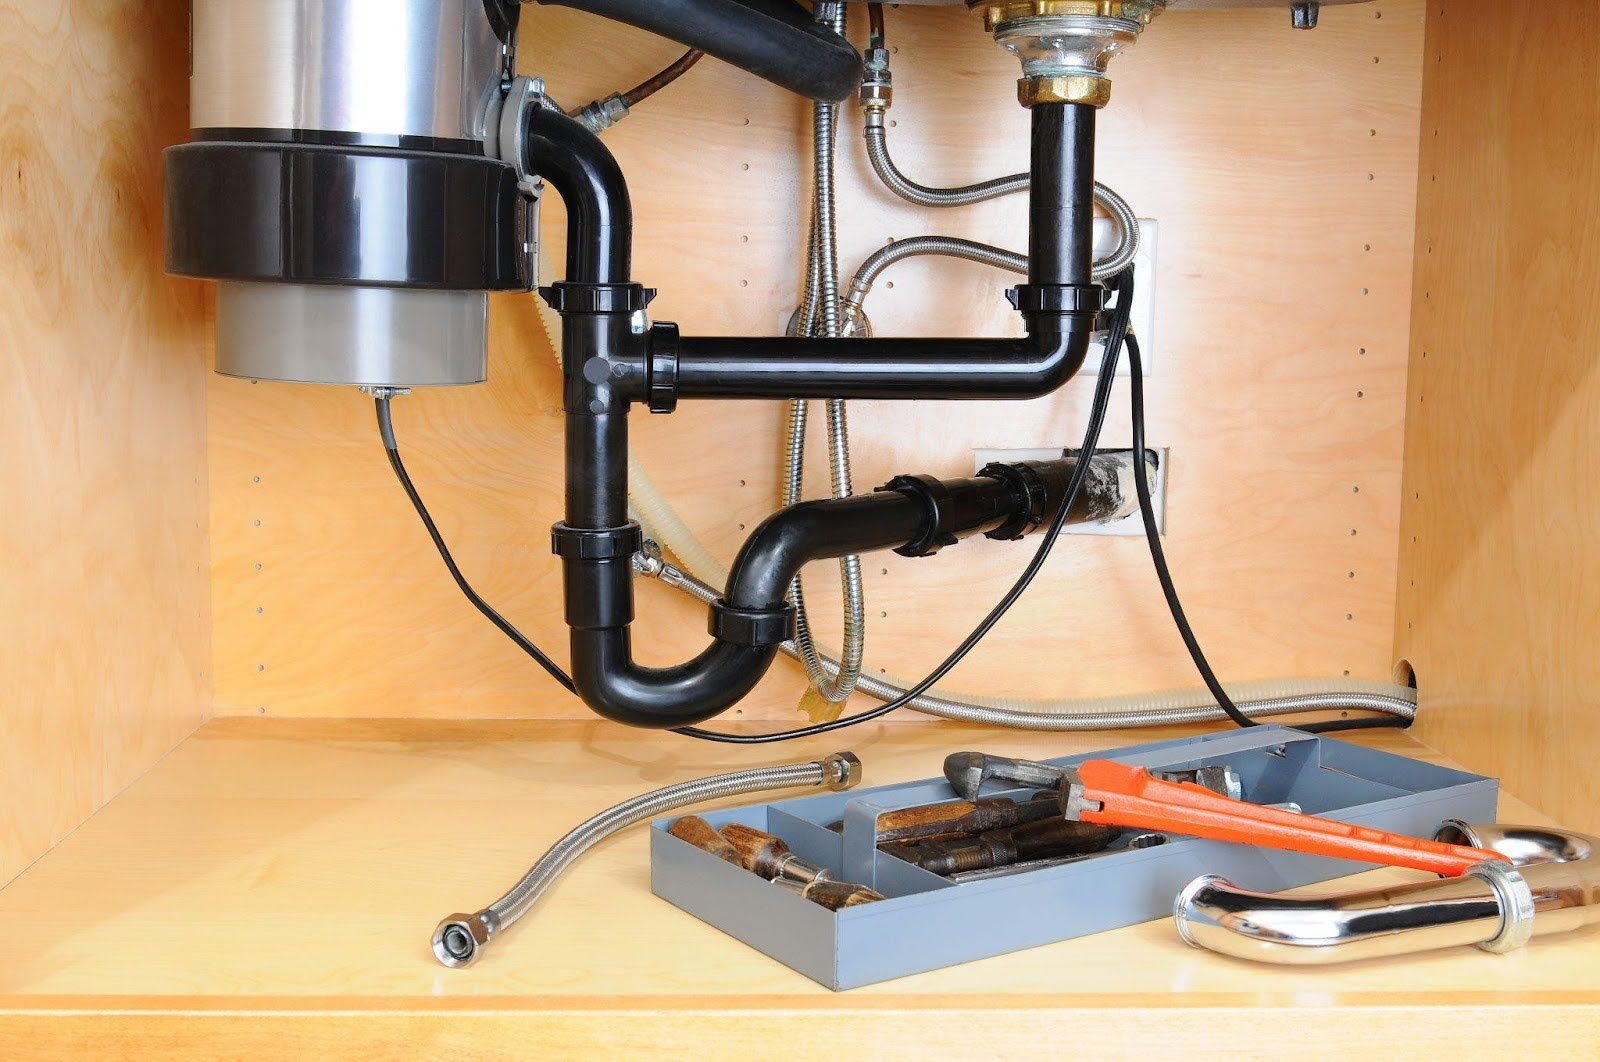
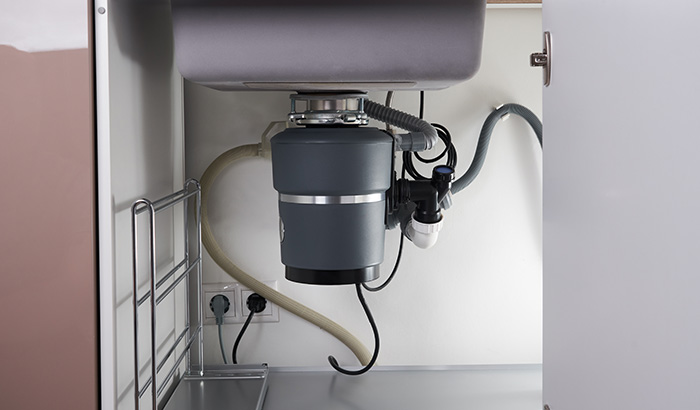
A well-functioning garbage disposal effortlessly converts food scraps into manageable bits, curbing odors and preventing annoying clogs. Its impact on your daily routine is so seamless that you might only notice when it unexpectedly stops working.
But frustration sets in when your reliable garbage disposal won’t turn on. The simple act of flipping the switch, once accompanied by the reassuring hum, now leaves you puzzled and understandably annoyed.
Through this blog, we’ll demystify the world of garbage disposal repairs, offering you a lifeline to regain control of this essential kitchen appliance. Whether you’re dealing with a minor hiccup, a stubborn jam, or a more complex issue, we’re in your corner. So, without further ado, let’s dive into troubleshooting and revive your disposal!
Safety First: Ensuring Your Well-Being
Your safety is paramount when it comes to dealing with any household appliance, and garbage disposals are no exception. These devices may seem innocuous, but they contain powerful motors and sharp components that demand respect. Ensuring your safety is the first step toward effectively troubleshooting and fixing your broken garbage disposal.
Think of it this way. By prioritizing safety, you protect yourself and ensure a smoother and more confident troubleshooting process.
1. Disconnect the Power
Before laying a finger on your broken garbage disposal, cutting off its power source is imperative. Find the circuit breaker or GFCI (Ground Fault Circuit Interrupter) outlet associated with your disposal and switch it off. This simple step prevents accidental activations and keeps you safe from electric shocks.
2. Use Appropriate Tools
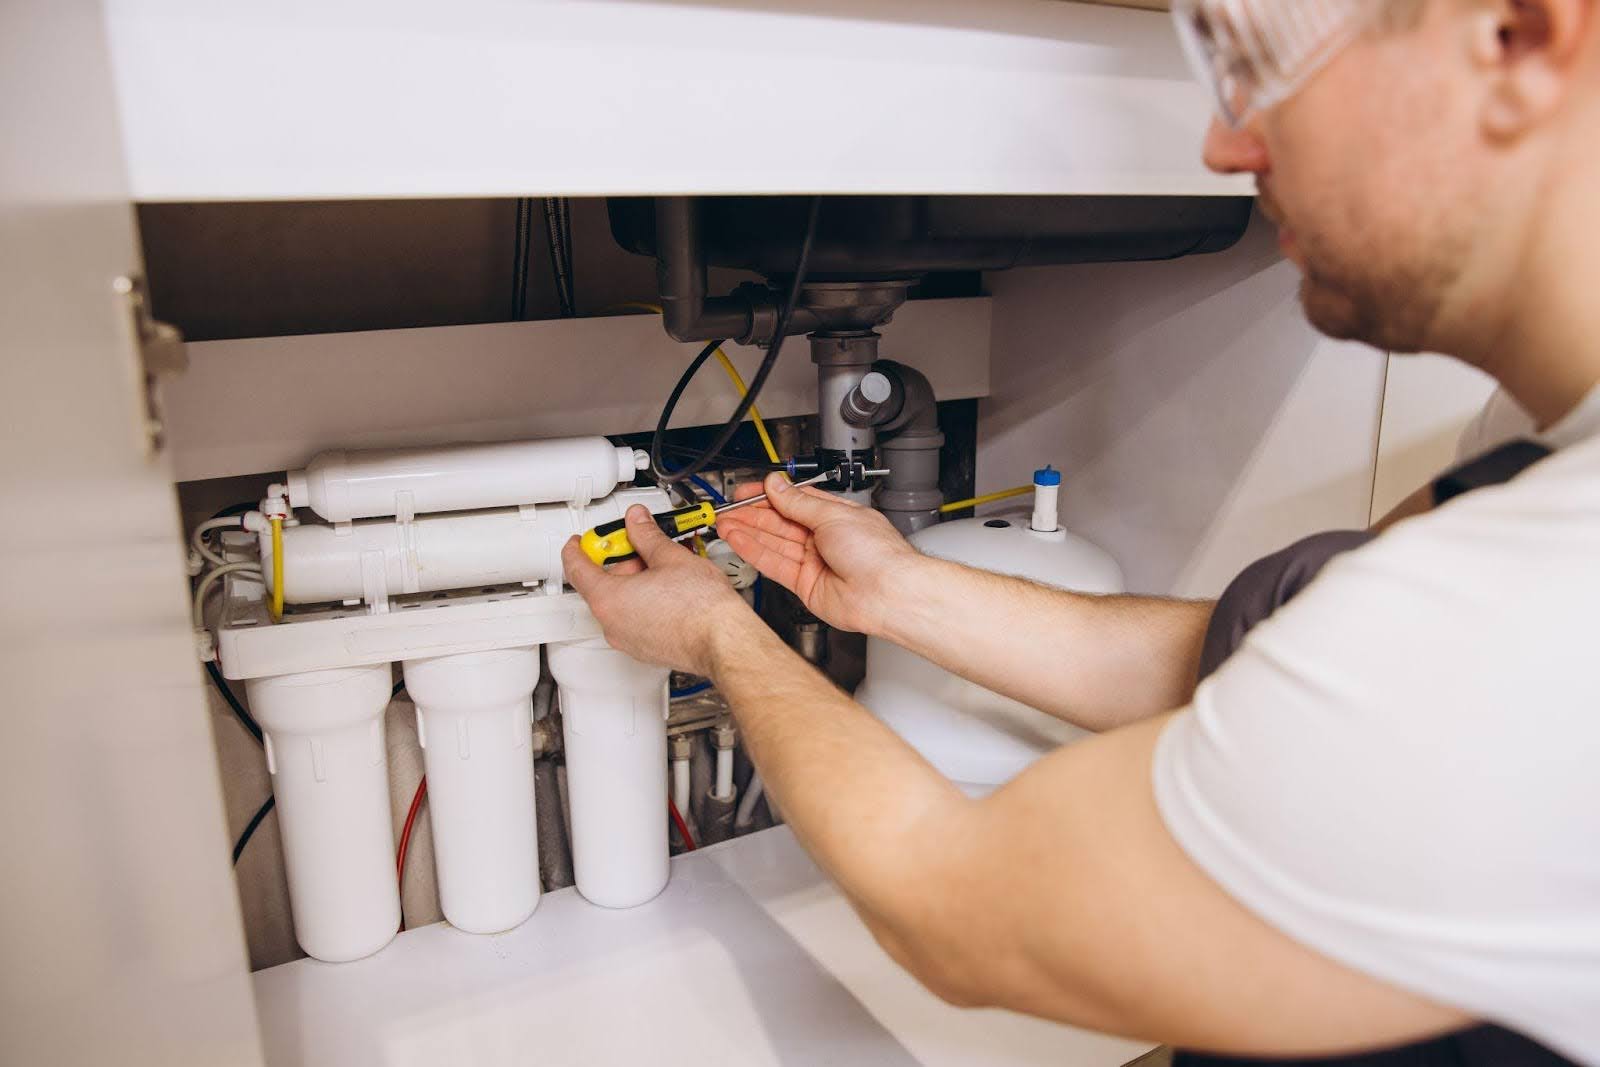
When working on your broken garbage disposal, make sure you have the right tools for the job. A simple Allen wrench is often all you need to resolve minor issues like jams. Using the correct tools not only ensures a safer process but also a more effective one.
3. Avoid Plunging
Some may be tempted to use a plunger to address disposal problems. However, this approach can be dangerous and is best avoided. It can lead to splashing, further complications, or even injury.
4. Wear Protective Gear
While it might not be a hazmat situation, wearing gloves and safety goggles can protect you from any unexpected mess or debris during troubleshooting. Safety gear adds an extra layer of protection and ensures a more comfortable experience.
5. Never Insert Hands or Objects
This might seem obvious, but it’s crucial to reiterate: never insert your hands or foreign objects into the disposal while it’s connected or when you’re unsure about its state. Even when disconnected, exercise caution. Use tools as extensions of your hands to avoid accidents.
Remember, your well-being is our top priority as we guide you through troubleshooting. Stay safe, and let’s work together to bring that silent disposal back to life!
Common Culprits for a Garbage Disposal Not Turning On
When your garbage disposal refuses to spring to life, it can be an exasperating experience. But fear not! Understanding the usual suspects behind this issue is the first step toward restoring your disposal’s functionality.
- Electrical Problems: Your garbage disposal operates on electricity; sometimes, electrical issues can disrupt its performance. This could include a faulty power source, a tripped circuit breaker, or a malfunctioning switch.
- Jams: Garbage disposals are designed to grind food scraps into small pieces, but occasionally, larger or tougher items can create blockages, causing the disposal to stall. Identifying and clearing these jams is a crucial part of troubleshooting.
- Reset Button Issues: Many disposals are equipped with a reset button, also known as an overload protector. This feature is designed to shut off the disposal when it’s overwhelmed by too much waste or a jam. If the reset button has tripped, your disposal won’t operate until it’s reset.
By familiarizing yourself with these common reasons and their implications, you’re better equipped to diagnose the issue and take the necessary steps to repair your broken garbage disposal. Remember, a little knowledge can go a long way in ensuring a smoothly functioning kitchen appliance.
Step-by-Step Troubleshooting: Bringing Your Disposal Back to Life
Now, it’s time to roll up your sleeves and troubleshoot the issue. Our step-by-step guide will walk you through the process, ensuring a smoother path to resolving the problem and getting your disposal up and running.
Step 1: Checking the Power
Start by verifying whether your garbage disposal is receiving power. Ensure it’s properly plugged in or connected to its power source. If it’s hardwired, inspect the wiring for any visible damage.
In many cases, the issue might be as simple as a tripped circuit breaker or a GFCI outlet that needs to be reset. These safety features can cut off power to the disposal when there’s an electrical issue. Resetting them often resolves the problem and is a crucial first step in troubleshooting.
Step 2: Confirming the Switch
Check the functionality of your wall switch or air switch, depending on your disposal type. Ensure the switch is in the “on” position and is not damaged or malfunctioning.
If the switch is non-functional or damaged, replacing it is essential. Faulty switches can prevent the disposal from turning on, and a new one should restore its operation.
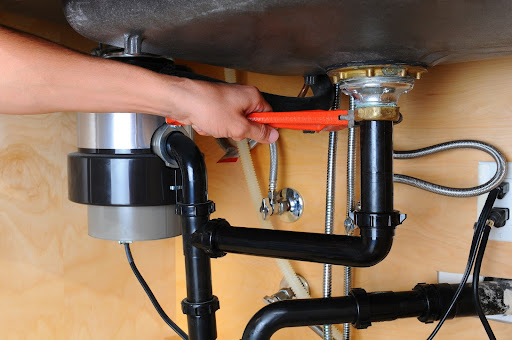
Step 3: Clearing Jams
Jams are a common culprit for non-responsive disposals. To address this, turn off the power to the disposal and safely inspect the chamber for any obstructions. Remove any foreign objects or food debris that may be causing the blockage.
For stubborn jams, an Allen wrench can be a valuable tool. Insert the wrench into the bottom of the disposal and manually turn it in both directions to free up the impellers and dislodge any stuck items.
Step 4: Resetting the Disposal
Many disposals come equipped with a reset button, often called an overload protector. If your disposal has one, press the reset button, typically located on the bottom or side of the unit. This button helps reset the disposal after it’s tripped due to overload or a jam.
Step 5: Checking for Wiring Issues
Carefully examine the wiring connected to your disposal. Look for any signs of damage, fraying, or loose connections. Damaged wiring can disrupt the electrical flow and prevent the disposal from operating.
Step 6: Motor Overload
Sometimes, the disposal’s motor may overload if it encounters a particularly tough jam or too much waste at once. Allow the motor to cool down for 15-20 minutes before resetting and using it again.
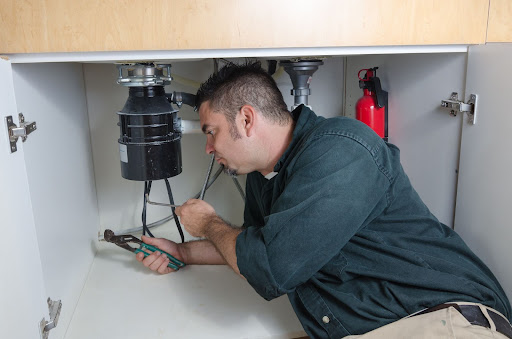
Step 7: Seek Professional Help
If your garbage disposal still refuses to turn on after following the above steps, it’s time to call the professionals to repair it. A licensed plumber or electrician can diagnose and fix more complex issues that may be beyond the scope of DIY troubleshooting.
The Importance of Hiring Professionals for Garbage Disposal Repairs
While DIY troubleshooting can address many common garbage disposal repairs, recognizing when it’s time to call in a professional is essential. Their expertise not only ensures safety and efficiency but also provides the assurance that your appliance will be restored to optimal working condition.
Here’s why you should consider calling in the experts when dealing with more complex issues:
Safety First
When it comes to your garbage disposal, safety is paramount. These appliances contain powerful motors and sharp blades, posing risks if mishandled. Professionals have the expertise to work safely and address the problem.
Avoiding Further Damage
DIY attempts can sometimes worsen the issue, leading to more damage and higher costs. Professionals accurately pinpoint problems, ensuring a proper fix from the start.
Preserving Your Warranty
Unauthorized repairs can void warranties on many disposals. Hiring a certified professional protects your warranty, saving you from unexpected expenses.
Efficiency and Reliability
Professionals efficiently diagnose and repair your disposal, reducing downtime in your kitchen and getting you back to normal quickly.
Long-Term Savings
While DIY might seem cost-effective, professional repairs often lead to long-term savings. A correctly fixed disposal is less likely to break down again, reducing the need for frequent repairs or replacements.
Expertise in Complex Issues
Some problems require specialized knowledge and tools. Professionals are equipped to handle complex issues with the motor, electrical components, or plumbing connections.
Peace of Mind
Hiring a professional provides peace of mind. You can trust that the problem will be resolved, ensuring a fully functional kitchen without future worries.
Preventive Maintenance: Keeping Your Garbage Disposal Happy
Your garbage disposal is back in action, and you’ve just experienced the joy of a smoothly-running kitchen appliance. Now, let’s talk about how to keep it that way. Preventive maintenance is the key to avoiding future hiccups with your disposal.
Regular maintenance isn’t just a good practice; it’s your disposal’s best friend. By investing a little time and care into your disposal, you can extend its lifespan, reduce the risk of breakdowns, and ensure it continues functioning at its best.
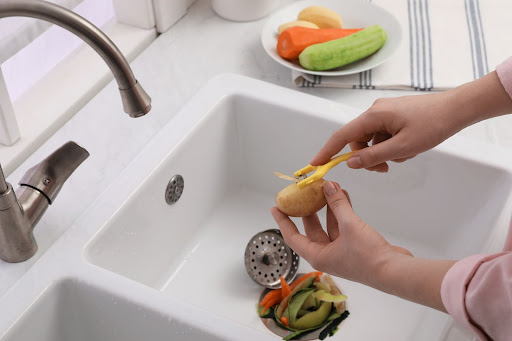
Use It Regularly
Surprisingly, one of the best ways to maintain your disposal is to use it regularly. Running it with cold water helps prevent rust and corrosion by flushing away small food particles that may accumulate.
Avoid Hard or Stringy Items
Be mindful of what you put down your disposal. Hard items like bones or fruit pits can damage the blades, while stringy foods like celery or corn husks can wrap around the impellers and cause jams.
Citrus Freshness
For a quick and natural way to keep your disposal smelling fresh, toss in some citrus peels (e.g., lemon or orange) every now and then. This helps combat odors and leaves a pleasant aroma.
Avoid Grease
Never pour grease or fats down the disposal. They can solidify and clog the pipes. Instead, let them cool and dispose of them in the trash.
Ice Cubes
Grinding ice cubes can help clean the blades and remove any residue. It’s an easy and effective way to maintain sharp blades.
Clean It with Baking Soda and Vinegar
Occasionally, you can clean your disposal by pouring a mixture of baking soda and vinegar down the drain. This helps break down grease and food particles.
When you use your garbage disposal, it’s essential to run cold water, not hot.
- Keeps the Motor Cool: Cold water helps prevent overheating by cooling down the motor during operation.
- Solidifies Grease: Hot water can melt grease, allowing it to coat the pipes and potentially cause clogs elsewhere in your plumbing system. Cold water solidifies grease, making it easier for the disposal to grind it up.
- Flushes Debris: Cold water aids in flushing food particles down the drain, preventing buildup and reducing the chances of odors.
By incorporating these maintenance tips into your kitchen routine, you’ll enjoy a hassle-free experience with your garbage disposal and ensure it serves you faithfully for years to come.
Salisbury Has the Plumbing Solutions You Need!
When your garbage disposal won’t turn on, remember that troubleshooting is within reach, and preventive maintenance can keep future issues at bay. However, for those complex challenges or when peace of mind is paramount, call the experts at Salisbury Plumbing.
Salisbury Plumbing is your go-to choice for plumbing services. As a locally owned and operated business, we understand the unique plumbing challenges of Utah County and provide tailored solutions for your home or business.
Give us a call at 385-442-5952 or use our online form. We’re ready to help you with all your plumbing needs.
toto slot