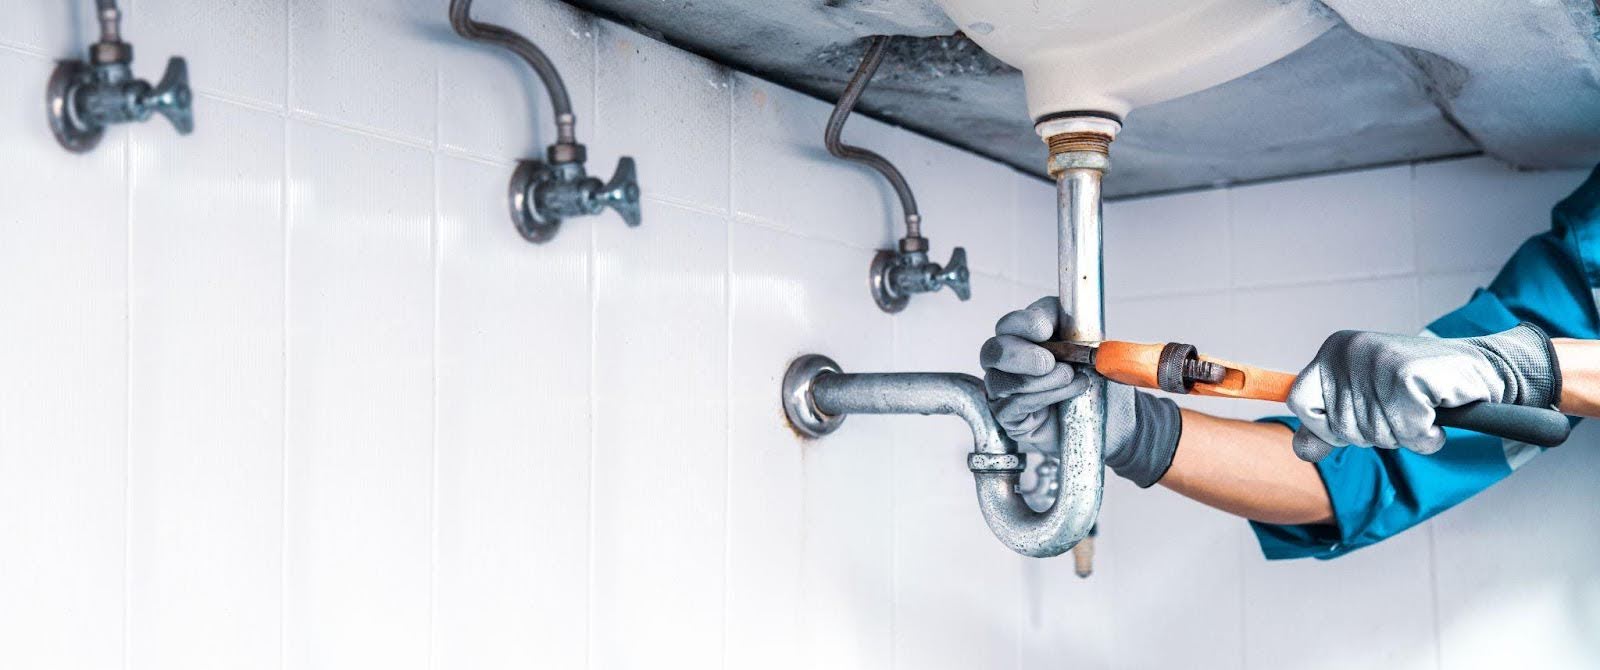
Water heater maintenance is essential to ensure that your water heater runs efficiently for as long as possible. You might hear your water heater rumble at some point and want to know what’s going on. That’s why knowing how to maintain your water heater is so important; you’ll know what to look for and when to call the professionals for water heater repair.
In this comprehensive guide, we’ll walk you through everything you need to know about water heater maintenance, from deciphering common problems and their symptoms to conducting essential upkeep tasks. With these insights, you’ll be well-equipped to keep your water heater running smoothly for years to come.
Keep reading to learn more!
Understanding your water heater
The first step to water heater maintenance is understanding what type of water heater you have. There are three types: tankless, electric, and gas.
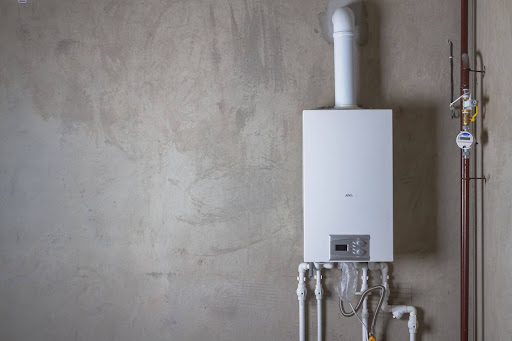
Tankless water heaters heat water directly without using a storage tank. When a hot water tap is turned on, cold water travels through a pipe into the unit, where it is heated by either an electric element or a gas burner.
Electric water heaters use heating elements inside the tank to heat the water. These elements are usually submerged in the water, and when the water temperature drops below the set point, the elements turn on to heat the water.
Gas water heaters use a gas burner at the bottom of the tank to heat the water. The heat is transferred to the water in the tank and is then delivered to faucets and appliances in the home.
Knowing what type of water heater you have enables you to perform specific maintenance tasks vital for its efficiency, longevity, and safety. Regular maintenance tailored to your water heater type can prevent unexpected breakdowns, ensure a consistent hot water supply, and enhance energy efficiency.
For example, tankless models require periodic flushing to remove mineral buildup, especially in areas with hard water.
Electric models might need occasional checking, heating element replacements, and electrical connection testing. Gas models require ventilation checks, gas line inspections, and burner cleaning for efficient and safe operation.
Now that we’ve learned about the different types of water heaters, let’s look at common heater problems and symptoms.
Common water heater problems and symptoms
Water heaters are generally reliable but can develop issues over time, like any appliance. Recognizing these common problems and their symptoms will help in early detection and timely water heater repair.
Here are some of the most prevalent water heater issues and the signs that indicate their presence:
- Insufficient hot water: Are you running out of hot water quickly or not getting hot water at all? In electric heaters, this could be due to faulty heating elements. In gas heaters, the burner might not be working correctly. It could also indicate a thermostat issue or, in tankless systems, a capacity problem.
- Water temperature issues: If your water is too hot or cold, despite correct thermostat settings, you might have a malfunctioning thermostat or, in gas models, a faulty gas control valve. It could also be from sediment buildup affecting water heating efficiency.
- Discolored or rusty water: Does your water have a brown, red, or yellow tint? This usually means the tank or pipes are corroding or the sacrificial anode rod is failing.
- Strange noises: Do you hear rumbling, popping, or banging noises coming from the water heater? Sediment buildup at the bottom of the tank usually causes this. The noise is the sound of steam bubbles escaping beneath the sediment layer.
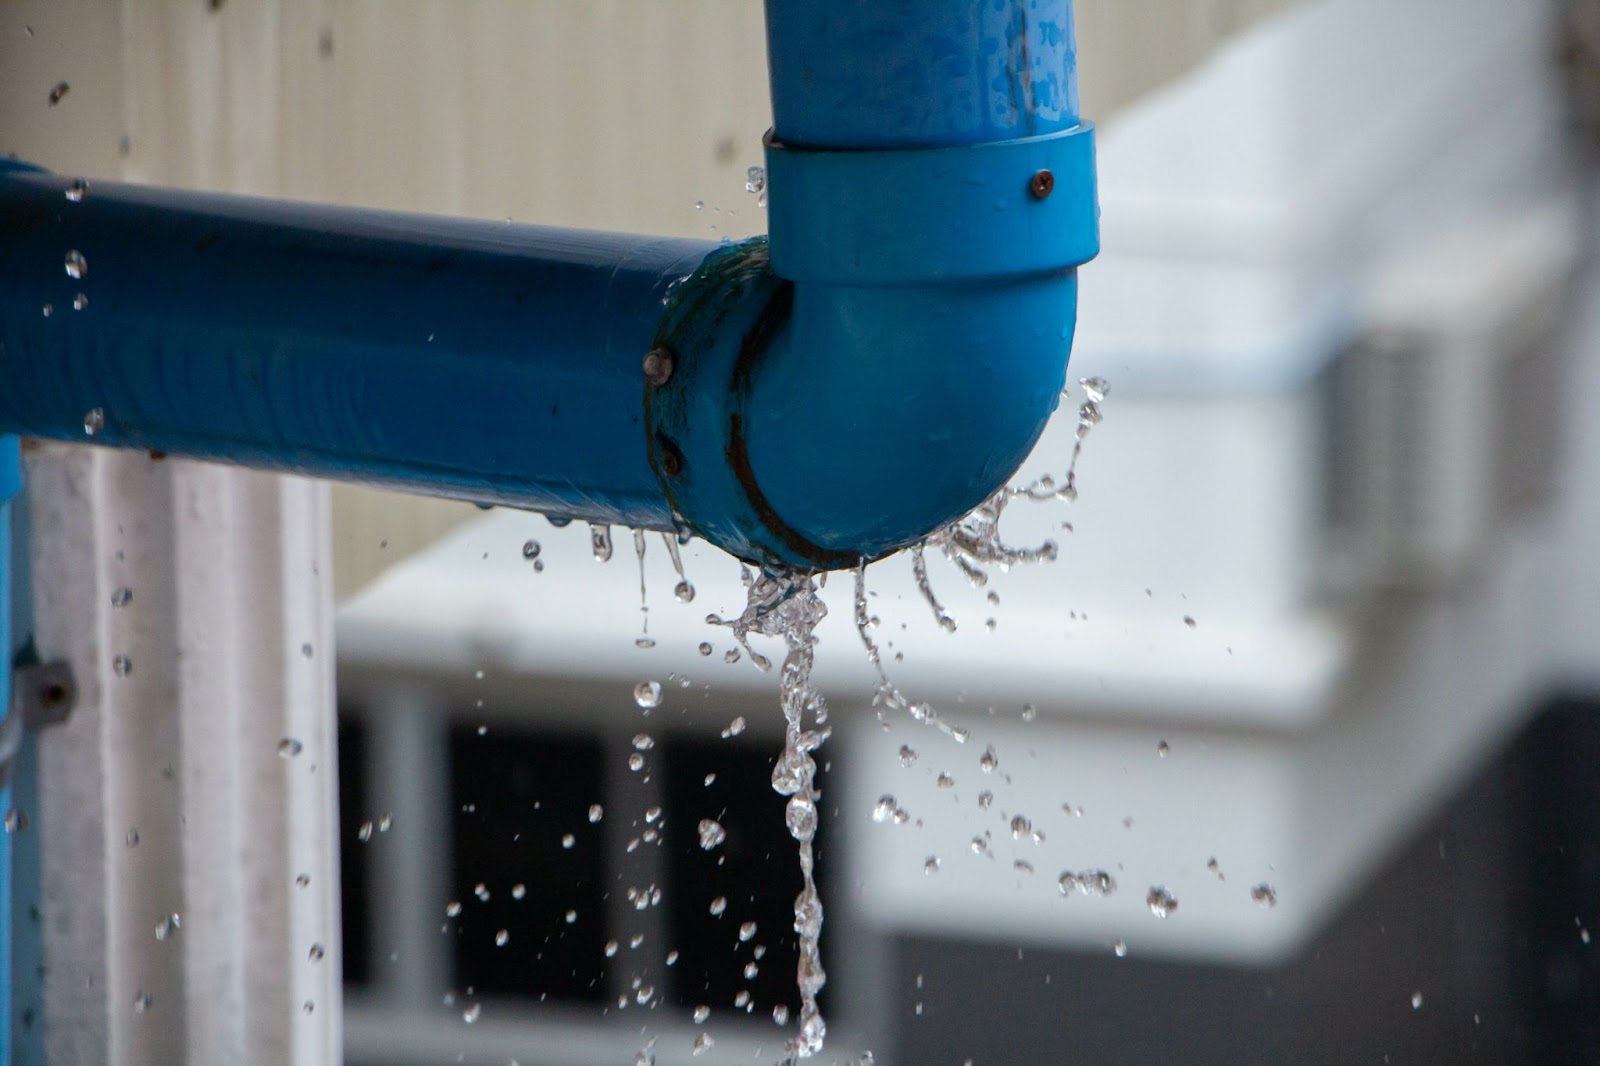
- Leaks around the water heater: If you notice puddles or moisture around the base of your water heater, this could mean possible tank leakage, loose connections, or a faulty temperature and pressure relief valve.
- Smelly or cloudy water: Does your water have a metallic taste or smell or appear cloudy? This could be due to bacterial growth within the tank or corrosion of internal components, affecting water quality.
- Slow recovery time: If your water heater is taking longer than usual to start up, it might be due to sediment buildup, malfunctioning heating elements (in electric models), or issues with the gas burner system (in gas models).
- The water heater shuts off unexpectedly: Does your water heater frequently turn off or fail to ignite? This indicates an underlying problem.
Regular maintenance tasks
Now, long before you spot any problems with your water heater, you’ll want to perform regular maintenance tasks that keep those problems at bay and help your water heater to last longer.
Draining and flushing the tank
One of the most important regular maintenance tasks for a tank-type water heater is draining and flushing the tank. This process removes sediment that accumulates at the bottom of the tank, hindering efficiency and leading to other issues.
First, you’ll turn off your water heater. Then, attach a garden hose to the drain valve located near the bottom. Make sure the other end of the hose is in an area where hot water can safely drain. Be mindful that the water will be hot. The next step is shutting off the cold water supply. This valve is usually located at the top of the unit.
Open the pressure relief valve to allow air into the tank. Now, it’s time to drain and flush the tank. Open the drain valve and allow the water to flow out. Initially, it might be cloudy from sediment, but it should clear up as the tank drains.
Once the tank is empty, briefly turn on the cold water supply to the tank. This will stir up any remaining sediment. Let the water and sediment flush out through the hose. Repeat this step until the water runs clear.
Close the drain valve and remove the hose. Then, turn on the cold water supply to the tank. As the tank fills, keep an eye on the open pressure relief valve; once water starts coming out of it, close it.
Now, it’s time to turn the water heater back on. Relight the pilot and turn the thermostat back to your desired setting for gas heaters. For electric heaters, restore power at the circuit breaker once the tank is full and the pressure relief valve is closed. After completing the process, check around the drain and pressure relief valves for leaks.
Checking the anode rode
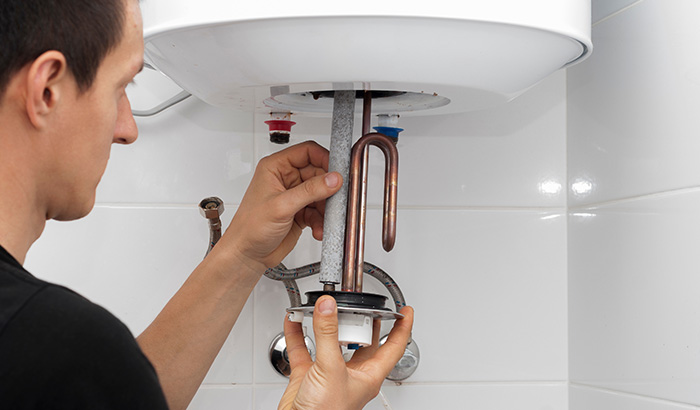
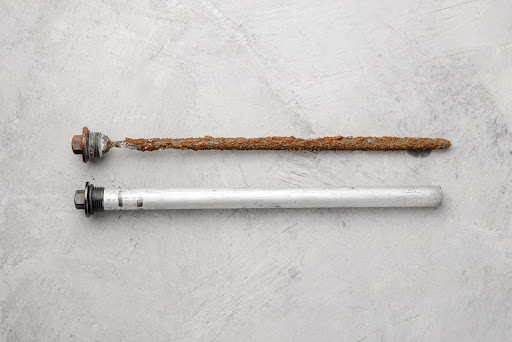
Checking the anode rod helps prevent corrosion inside the tank. The anode rod is a metal rod, typically made of magnesium or aluminum, that attracts corrosive elements in the water, thereby protecting the tank.
After turning off your water heater, you’ll find the anode rod on the top of the water heater; it’s usually attached to a hex head screw. Use a socket wrench to loosen and remove this screw, and then carefully pull out the anode rod. Inspect it for any significant wear, pitting, or corrosion.
If more than six inches of the core wire is visible or the rod is heavily coated with calcium, it’s time for a replacement.
Inspecting the pressure relief valve
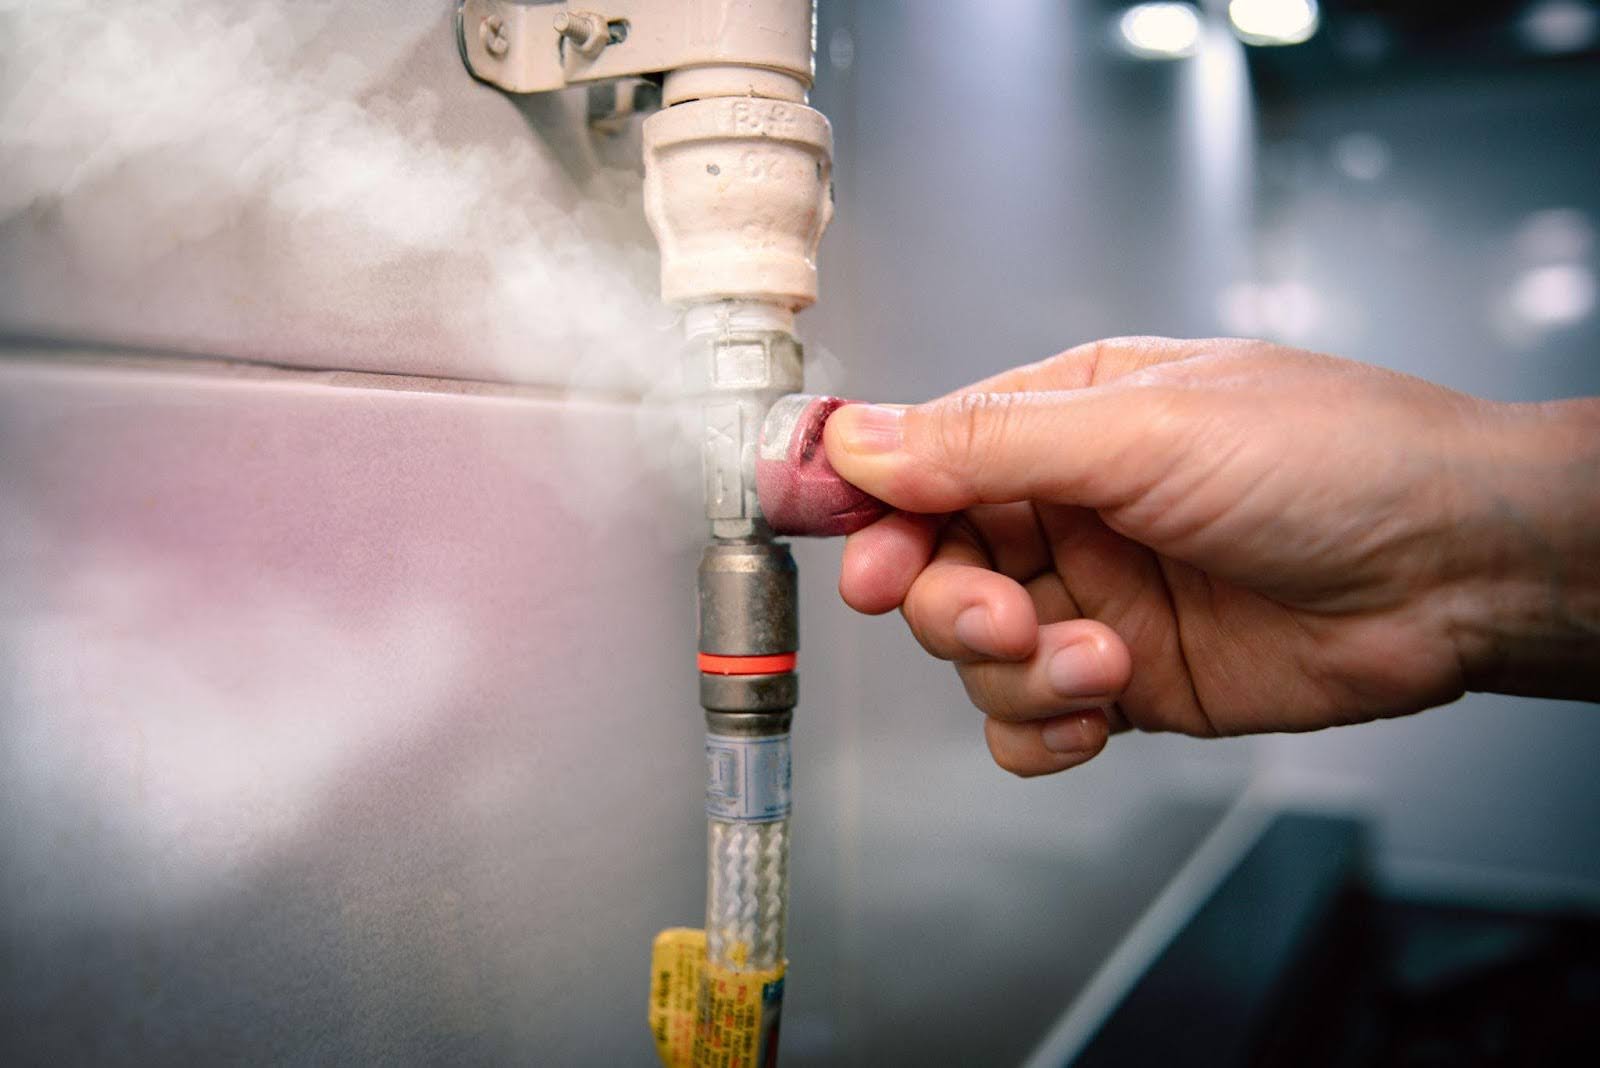
Your pressure relief valve is designed to release water and lower pressure if it gets too high inside the tank, preventing potential damage or explosions. To inspect it, first locate the valve, typically at the top of the tank with a discharge pipe leading down.
Start by placing a bucket under the discharge pipe to catch any water. Then, gently lift the valve’s lever to open it slightly. You should hear a hissing sound as air or water gets released, indicating the valve is functioning. If water or steam doesn’t come out or the valve doesn’t snap back into place after releasing it, the valve might be faulty and need replacement.
It’s essential to perform this check annually. Regularly ensuring that the pressure relief valve is operational extends the life of your water heater and safeguards your home against potential high-pressure buildups.
Checking for leaks and corrosion
To effectively check your water heater for leaks and corrosion, start with a thorough visual inspection. Look around the water heater’s base for any signs of moisture or puddles, which might indicate a leak. Pay close attention to the tank’s condition, looking for any signs of rust or corrosion, particularly near seams and joints.
Next, examine all pipes, connections, and fittings leading to and from the water heater. Corrosion or rust on these parts often precedes leaks. Don’t forget to inspect the pressure relief valve, typically located on the top or side of the tank. Any dripping or leakage from this valve can indicate excessive pressure or a malfunction, requiring immediate attention.
Regular inspections for leaks and corrosion are essential for maintaining your water heater’s safety and efficiency, helping prevent costly repairs and extending the unit’s lifespan.
Thermostat settings
Checking the thermostat settings on your water heater is a straightforward process that helps ensure the unit operates efficiently and provides the desired water temperature.
Begin by locating the thermostat, which, on most tank-type heaters, is behind an access panel on the side of the tank. For safety, turn off the power to the water heater at the circuit breaker before proceeding.
Once the power is off, remove the access panel to reveal the thermostat. You will see a dial or a digital readout indicating the current temperature setting. The recommended setting for most households is around 120°F (49°C). This temperature strikes a balance between energy efficiency and the risk of scalding while also being hot enough to mitigate bacterial growth in the tank.
If the current setting is different, adjust it to the desired temperature. After making any adjustments, replace the access panel and restore power to the unit. Regularly checking and adjusting the thermostat contributes to energy savings and extends the lifespan of your water heater.
Now that you understand water heater maintenance, you’ll be able to keep your water heater in good working condition. However, even with careful maintenance, sometimes things go wrong, and you need professional assistance to ensure your water heater is repaired and working optimally. That’s where Salisbury Plumbing comes in.
Need Water Heater Repair? Call Salisbury Plumbing
Ready to ensure your water heater’s longevity and efficiency but unsure where to start? Salisbury Plumbing is here to help! Our team of skilled professionals is equipped with the knowledge and tools to address all your plumbing needs, from routine maintenance to complex repairs.
Don’t let water heater woes disrupt your daily comfort. Reach out to Salisbury Plumbing today for expert advice, top-notch service, and peace of mind knowing your home’s plumbing is in the best hands. Whether it’s a quick check-up or a comprehensive overhaul, we’re here to ensure your water heating system runs flawlessly.
toto slot

