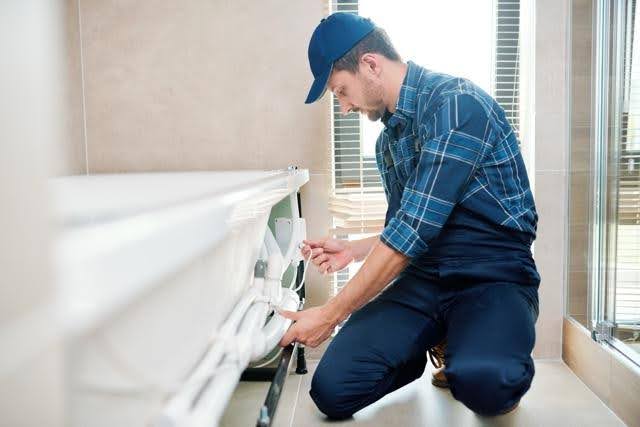
Preparing for a new tub starts with making the bathroom easy to access, confirming shutoff valves work, and checking for hidden moisture around the existing fixture. Clear the space, protect floors, and plan for debris removal. Good prep helps your bathtub installation move faster and supports a smoother plumbing installation with the right residential plumbing services.
What to do before your bathtub installation
A new tub makes daily routines easier, fixes nagging leaks, and gives the whole bathroom a cleaner look. The tricky part is that the project’s success often depends on what you do before demolition begins. If the work area is cramped, the subfloor is soft, or the water shutoff is hard to reach, the job slows down quickly.
In this guide, you’ll learn practical steps to prep your bathroom so your contractor can work efficiently, your home stays protected, and your timeline stays realistic, especially if you are scheduling a bathtub installation around work, kids, or a busy household.
What to do before a new tub project
Before anything comes out, focus on two things: access and information. Access means the installer can reach the tub area, shutoffs, and nearby walls without obstacles. Information means you have the right tub, the right parts, and a plan if the crew finds water damage.
Next, confirm the scope. Are you swapping the tub in the same footprint, or changing the valve, drain location, or surround? The more you move plumbing, walls, or waterproofing, the more the timeline and cost shift.
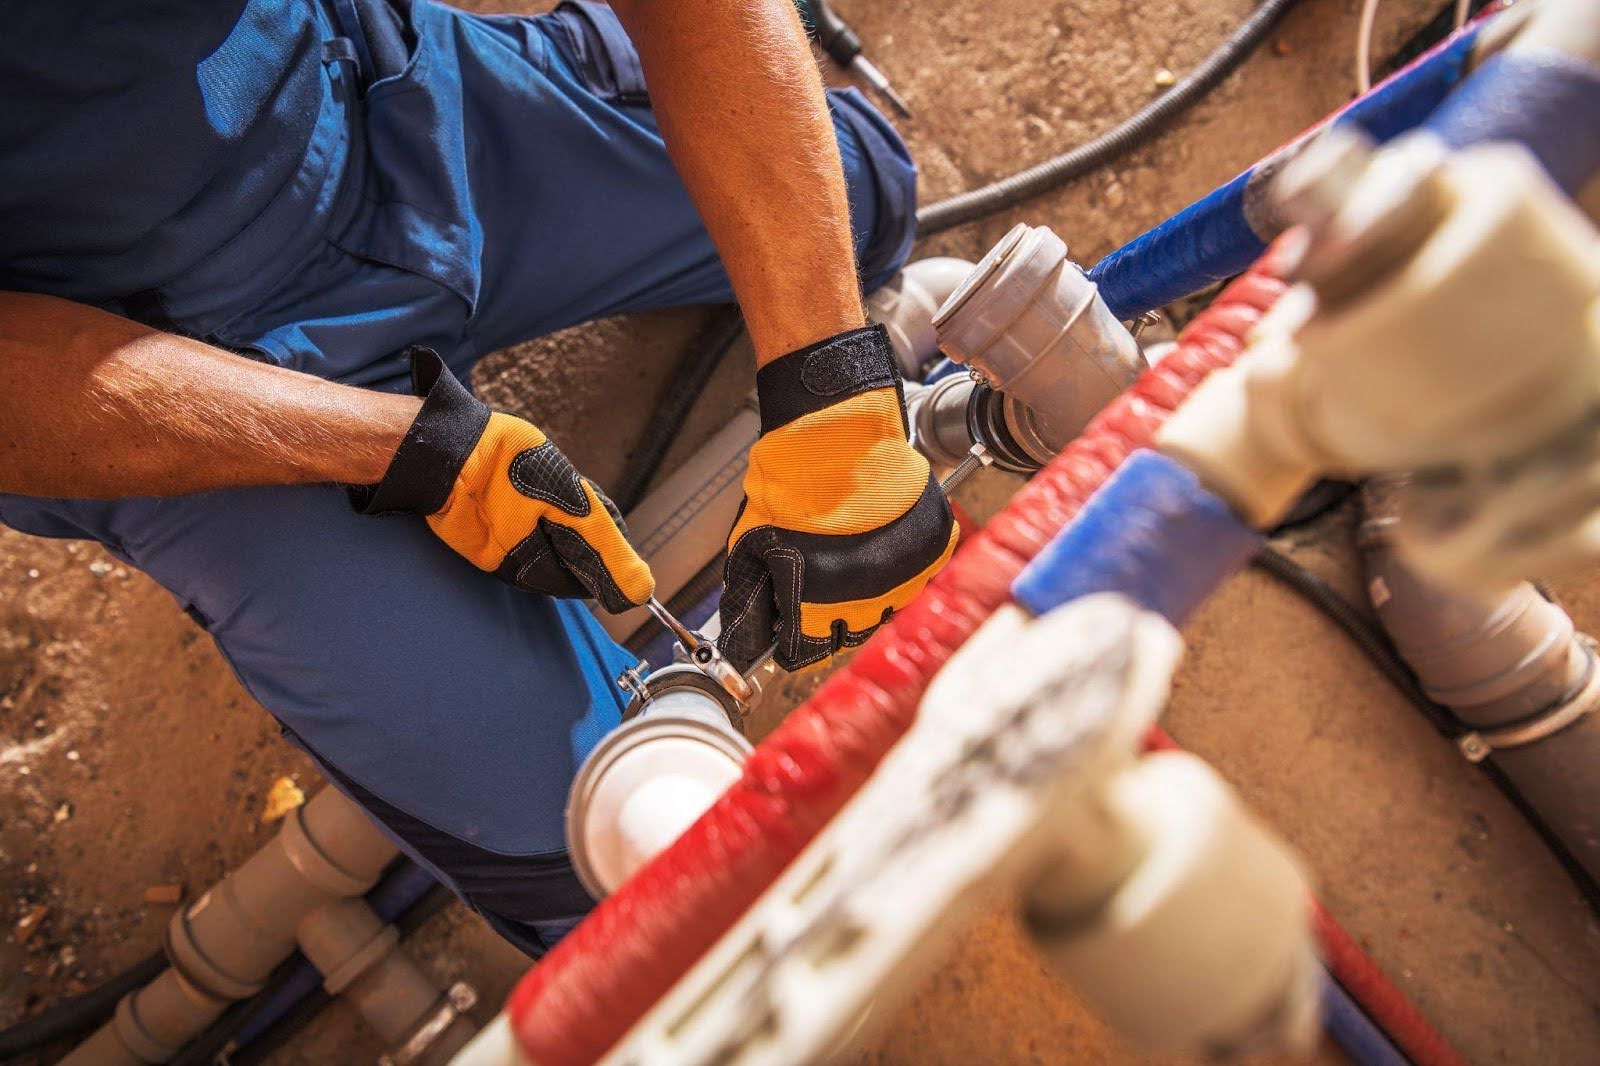
This is where residential plumbing services help. A quick walkthrough clarifies what’s involved, what’s code-related, and what’s smart to replace while the wall is open. If you’re planning a broader plumbing installation, early planning prevents rushed decisions mid-demo.
Step-by-step bathroom preparation checklist
Use this checklist to get your bathroom ready before demo day.
- Confirm tub measurements and the delivery path
- Measure the alcove or tub deck opening.
- Confirm doorways, hall turns, and stair clearance.
- Stage the new tub in a dry, safe location, away from the work zone.
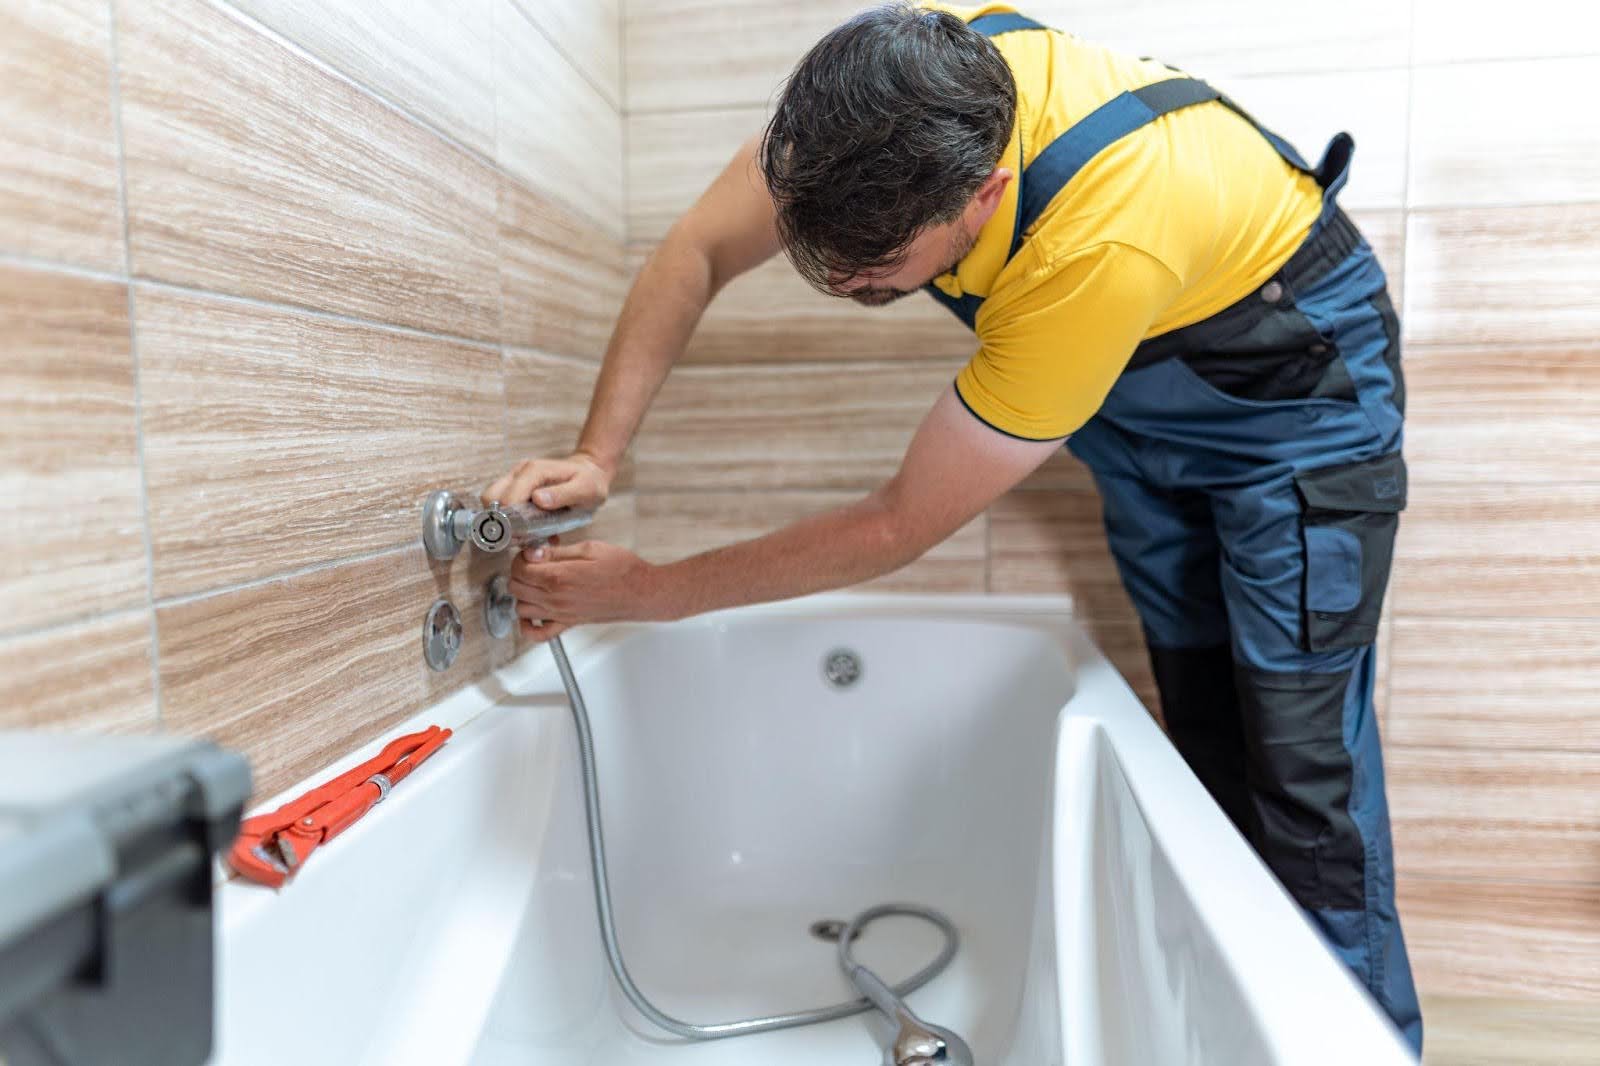
- Test the water shutoffs
- Locate the main water shutoff for the home.
- If there are fixture shutoffs, turn them off and back on to confirm they move freely.
- If a shutoff is stuck or leaks when turned, that is worth addressing before work begins.
- Clear the bathroom completely
- Remove rugs, shower curtains, toiletries, trash cans, décor, and anything on shelves.
- Empty the vanity cabinet if it is near the tub, since dust and vibration travel.
- Protect floors, corners, and nearby fixtures
- Cover walk paths with rosin paper or a drop cloth.
- Tape cardboard to sharp vanity corners and door jambs.
- If the toilet is close to the work area, ask the crew to temporarily remove it.
- Plan for demo and debris
- Decide where the old tub and wall material will exit.
- Confirm parking access for the crew.
- Ask the crew how they’ll remove and dispose of debris, especially if the job includes tile or cement board.
- Check for signs of water damage, including:
- Soft flooring near the tub edge.
- Cracked grout, loose tiles, or a musty smell.
- Bubbling paint on the ceiling below the bathroom.
If you spot these, share them early. It helps set realistic expectations.
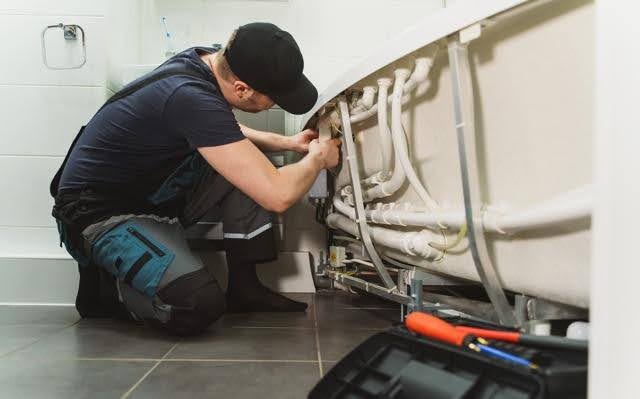
- Create access if needed
- Some bathrooms have an access panel behind the tub valve.
- If there is no access, your installer may need to open a section of drywall in an adjacent room.
- Confirm ventilation and moisture control
- Turn on the fan. Make sure it actually pulls air.
- Plan to run the fan during and after the project to help materials dry.
- Set household expectations
- You may have water shut off for part of the day.
- Plan a backup shower option.
- Keep kids and pets away from the work zone.
A well-prepped bathroom helps the crew focus on quality work rather than workarounds, which is crucial during any bathtub installation.
Benefits of preparing ahead of time
Good prep is not busywork. It has real payoffs, including the following:
- Reduces delays once demolition starts
- Lowers the risk of accidental damage to floors and fixtures
- Helps installers spot and address moisture issues early
- Supports cleaner workmanship and better finishing results
- Makes your timeline more predictable, especially for a broader plumbing installation
- Helps you get a more accurate estimate upfront
Common mistakes to avoid
- Not testing shutoff valves until the day work begins
- Leaving toiletries and valuables in the bathroom
- Ignoring soft flooring or musty smells near the tub
- Ordering the wrong tub size or forgetting the drain and overflow compatibility
- Assuming access will be easy without checking the valve location
- Underestimating the time without water during the work
- Hiring based on speed alone instead of qualified residential plumbing services
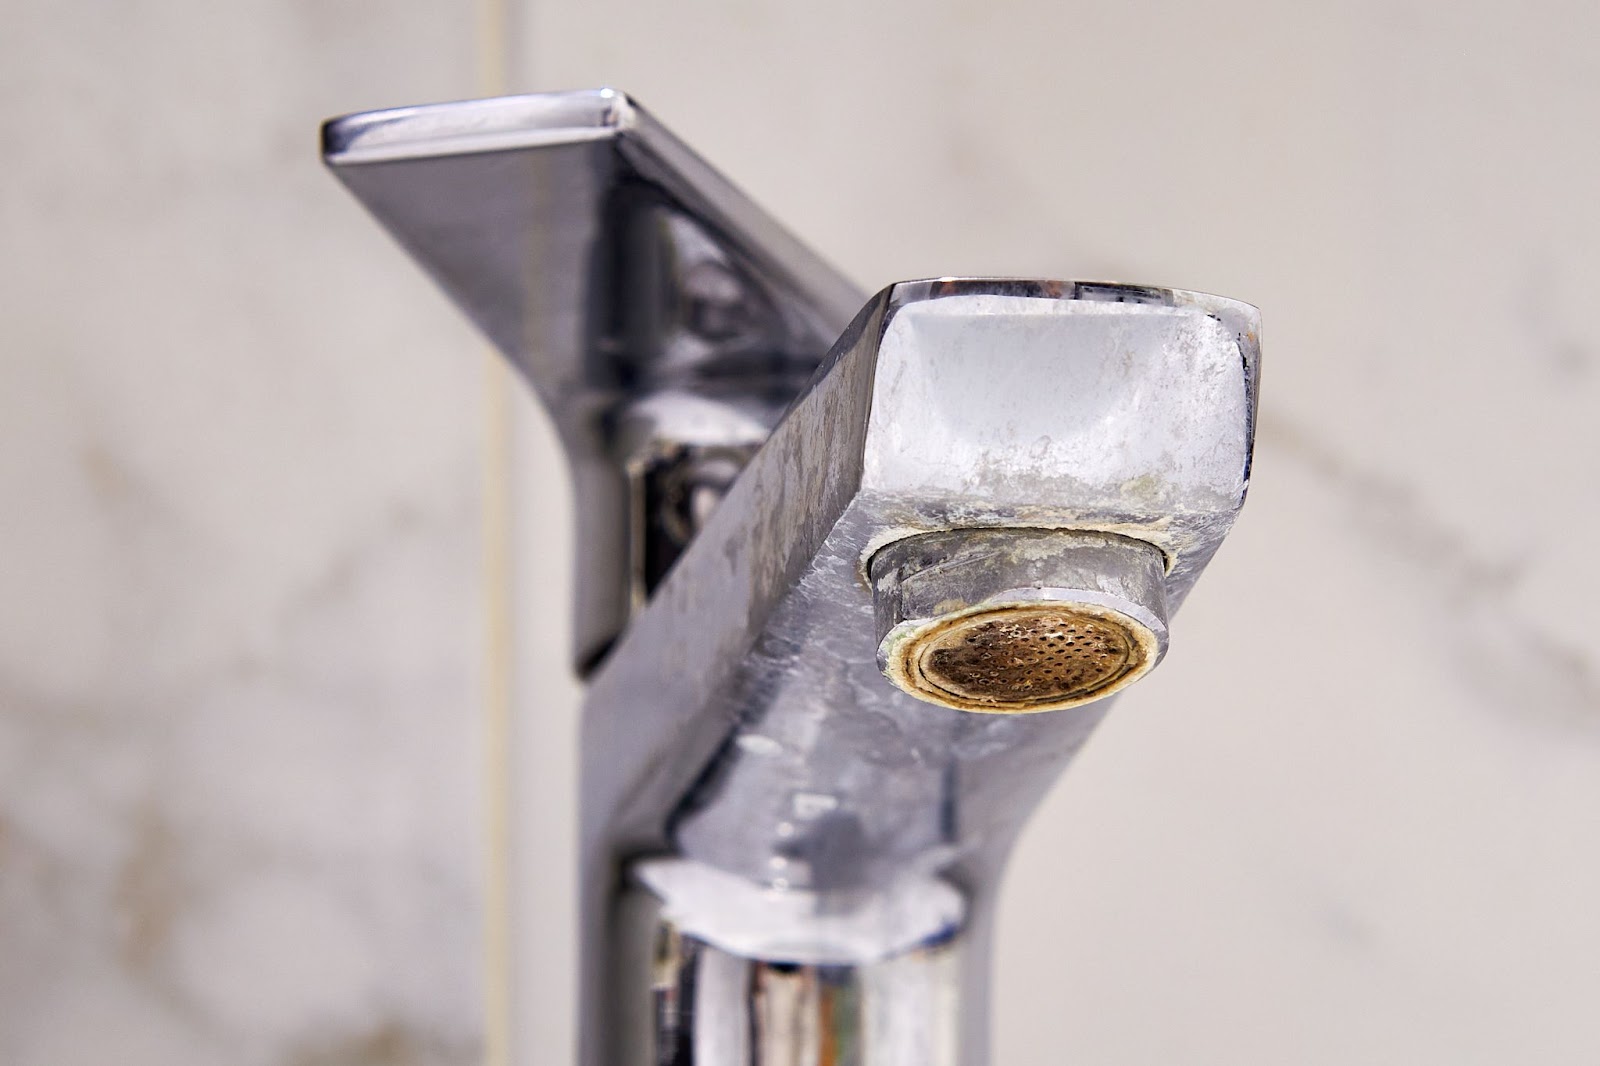
Why prep matters: The numbers behind leaks and moisture
A tub project is a good time to think about water risk and moisture control.
- Water damage and freezing accounted for 22.6% of homeowners‘ insurance losses in 2023, based on ISO data published by the Insurance Information Institute.
- The EPA says the average household’s leaks waste nearly 10,000 gallons of water per year, and 10% of homes have leaks that waste 90 gallons or more per day.
- The EPA notes that moisture and humidity problems contribute to mold growth in buildings, which is why ventilation and drying time are important after plumbing work.
If there is an old, slow leak behind the wall, the best time to find it is before the new finishes go in.
Tools and products that make prep easier
You do not need a full workshop to prep well. A few basics go a long way.
- Rosin paper or heavy drop cloths for walk paths
- Painter’s tape and cardboard for corner protection
- Flashlight or headlamp for checking under-vanity and access areas
- Bucket, towels, and a small wet/dry vacuum for minor water
- Basic hand tools: adjustable wrench, screwdriver set
- A small inspection mirror for looking behind pipes
- A low-cost moisture meter is useful if you suspect damp subflooring
- A fan or a dehumidifier to help the area dry after work
If you’re coordinating a larger remodel, residential plumbing services can recommend whether to update supply lines, shutoffs, or valves during the plumbing installation.
FAQs
How long does a tub replacement take?
A crew can often finish a straightforward swap in a day, but wall repairs, waterproofing, or finish work can extend the timeline. The timeline depends on access, the tub type, and whether hidden damage shows up during demolition.
Should I replace the tub valve at the same time?
If the valve is older, hard to turn, or already showing signs of wear, replacing it during the project is usually a good idea. It is easier and less expensive to do while the wall is open than to cut into new tile or new surround later.
Do I need an access panel for tub plumbing?
Not always, but access reduces labor and makes future repairs simpler. If the valve and drain connections are difficult to reach, opening a small section of drywall in an adjacent space helps the installer work cleanly and test connections thoroughly.
What if we find water damage when the old tub comes out?
Stop and assess before you move forward. Dry the area, replace damaged material, and fix the source of the leak. Once the structure is solid again, the new tub and finishes are installed with confidence.
Can I use my bathroom during the project?
Plan for limited access. Shut off the water for part of the day, and wait to use the tub until you test the connections and let the sealants cure. If this is your only bathroom, arrange a backup plan.
Ready for installation day: Next steps for a smooth tub upgrade with Salisbury Plumbing
A smooth tub project starts before demolition. Clear the room, protect floors, test shutoffs, and watch for early signs of moisture so you are not surprised mid-project. With the right prep, your bathtub installation stays cleaner, safer, and easier to schedule.
If you want help planning next steps, contact Salisbury Plumbing. We provide the right approach and dependable residential plumbing services for your home, including code-compliant plumbing installation when you need updates.